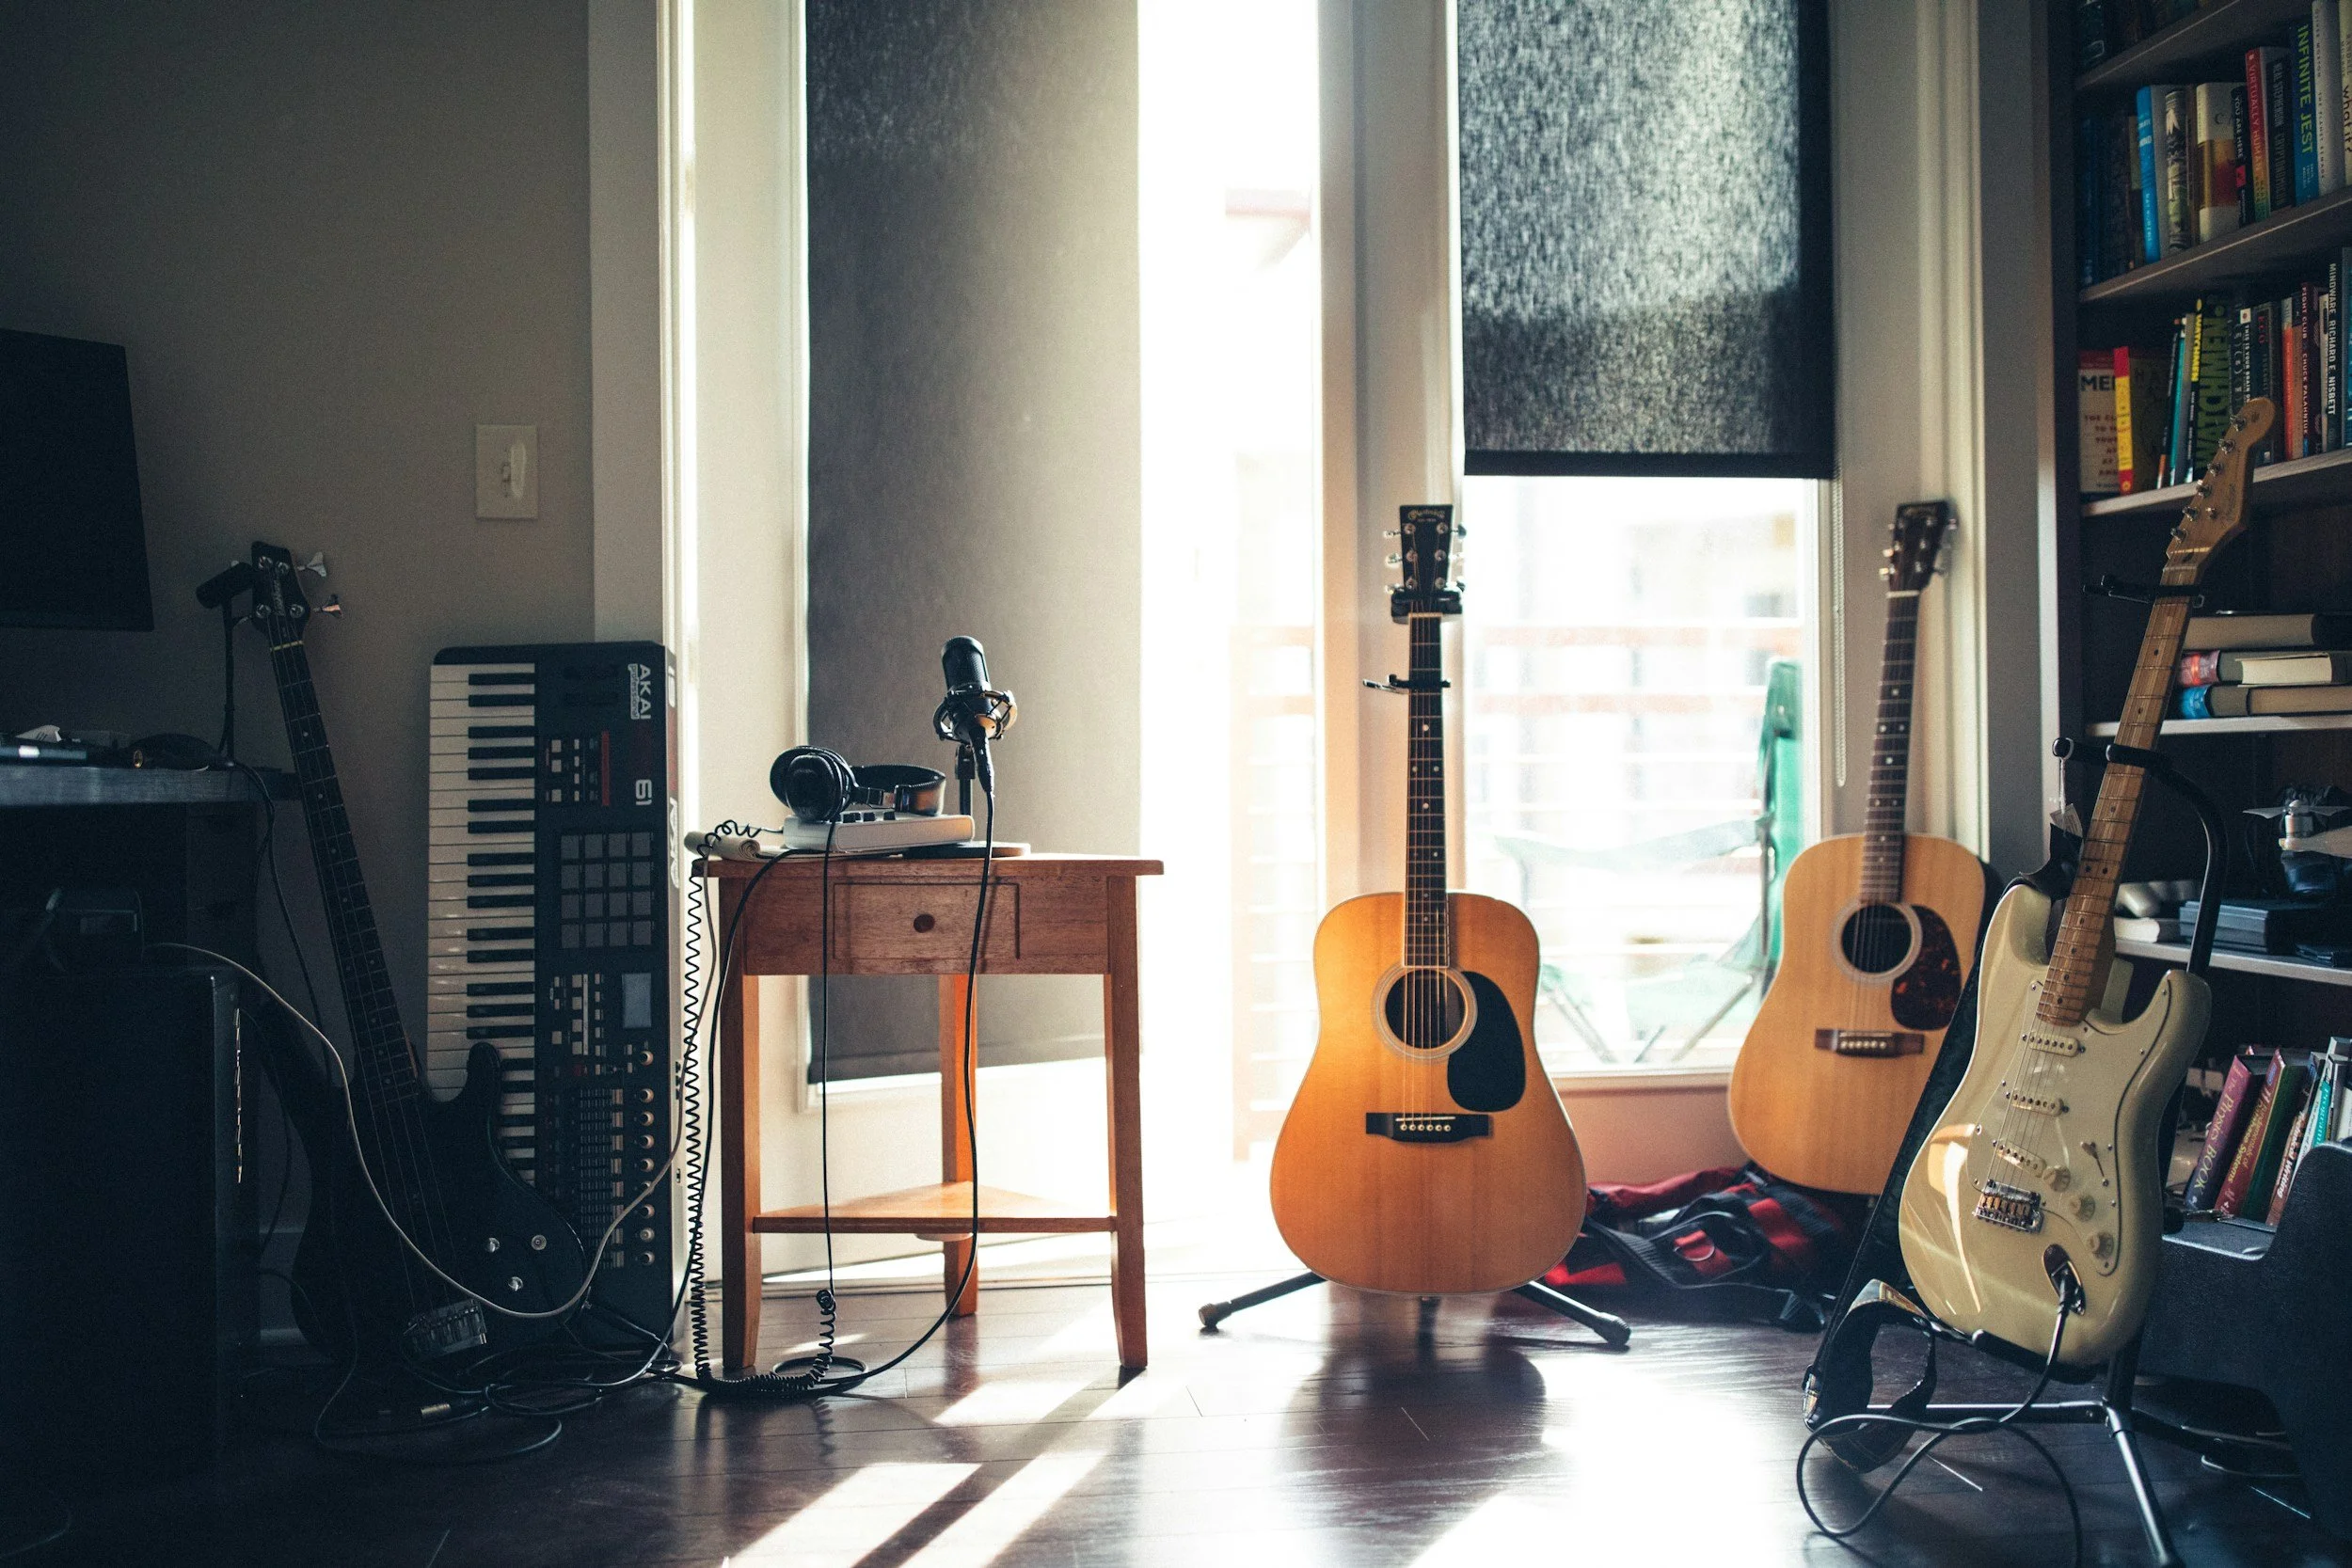
Building a home recording studio has never been easier or more affordable. You don’t need a massive mixing console, racks full of expensive gear, or a perfectly designed recording room to make great music at home.
Whether you’re a singer-songwriter recording acoustic demos, a guitarist producing full songs, or a beginner learning the recording process, a relatively small collection of equipment can take you a long way.
The key is knowing which pieces of gear actually matter and which ones can wait.
Acquiring your first pieces of sound equipment can be daunting, especially when there are so many options on the market. One way to learn about production and equipment is to book a few sessions with a recording studio. RCT Music Group in Nyack, NY offers music production lessons and would be a great way to diversify your knowledge of the craft.
Here are the essentials you need to start recording high-quality music at home.
1. A Reliable Computer
Your computer is the heart of your home studio. It runs your recording software, effects, virtual instruments, and everything else involved in producing your music.
The most important considerations are:
· A reasonably fast processor
· At least16GB of RAM
· Plenty of storage space
· An SSD for faster loading and recording
· Enough USB or Thunderbolt connectivity for your recording equipment
2. Digital Audio Workstation (DAW)
Your Digital Audio Workstation, commonly called a DAW, is the software where you’ll record, edit, mix, and produce your music.
Popular options include: Logic Pro, Pro Tools, Ableton Live, Studio One, Cubase, Reaper, and GarageBand
There isn’t one DAW that’s universally “best.” The right choice depends on your workflow and the type of music you’re making. Pick one, learn it well, and start making music.
3. Audio Interface
In addition to your computer the audio interface is the at the center of your home studio. An audio interface allows you to connect microphones and instruments to your computer while providing better sound quality and lower latency than your computer’s built-in audio connections.
For most home studios, a two-input interface is a great starting point. If you’re planning to record drums or several musicians simultaneously, you’ll want an interface with more inputs.
For most beginners, there are a variety of USB Audio Interfaces that are solid options.
4. A Good Microphone
Microphones can become an expensive rabbit hole, but you don’t need a cabinet full of vintage microphones to make great recordings.
For your first home studio microphone, consider purchasing a versatile large-diaphragm condenser microphone.
A good condenser microphone can handle:
· Lead vocals
· Background vocals
· Acoustic guitar
· Percussion
· Piano
· Room sounds
· Many other acoustic instruments
Next, you may want to add a dynamic microphone such as the classic Shure SM57. Dynamic microphones are particularly useful for guitar amplifiers, drums, percussion, and louder sound sources.
When you’re starting out, one good microphone that you know how to use is far more valuable than five microphones you don’t.
5. Studio Headphones and Monitors
A quality pair of headphones is another crucial investment for a home studio.
Look for closed-back studio headphones for recording. Closed-back headphones help prevent the music you’re listening to from leaking into the microphone while you’re recording vocals or acoustic instruments. They’re also extremely useful if you need to work quietly or don’t yet have studio monitors.
Once you’re ready to start seriously mixing your recordings, a good pair of studio monitors can make a major difference.
Unlike many home stereo speakers, studio monitors are designed to reproduce sound relatively accurately rather than making everything sound bigger or more exciting.
That accuracy helps you answer important questions: Is the vocal too loud? Is there too much bass? Are the guitars too bright? Does the mix sound balanced?
6: Accessories and Storage
They’re not exciting purchases, but accessories matter.
At minimum, you’ll probably want:
· A sturdy microphone stand
· One or two quality XLR cables
· A pop filter for vocal recording
· Instrument cables
· A headphone extension cable
· Appropriate USB or Thunderbolt cables for your interface
Recording sessions can consume storage surprisingly quickly. An external SSD or other reliable storage solution gives you additional room for recording sessions, sample libraries, virtual instruments, but more importantly will back up your music.
If the only copy of a song you’ve spent 30 hours recording is sitting on your computer, you don’t really have a backup. Ideally, keep your recording projects in multiple locations, including an external drive and a cloud-based backup.
BONUS: HOME RECORDING TIPS FOR SINGER-SONGWRITERS
1. Decide Between a Live Performance or Multitracking
One of your first decisions is whether to record your vocal and instrument simultaneously or separately.
Recording vocals and guitar or piano together can capture the natural energy of a live performance. The downside is that your vocal microphone will also pick up your instrument and vice versa, giving you less control when mixing.
Recording separately gives you much more control. Try recording a basic guitar or piano track first, then record the final instrument performance followed by your lead vocal. Experiment with both methods. Sometimes the technically imperfect live take has an emotional quality that’s difficult to recreate one track at a time.
2. Record a Scratch Track First
Before worrying about perfect sounds, record a simple performance of the entire song. Sing and play the song from beginning to end while recording both parts. This becomes your scratch track.
You can then build your finished recording around it. The scratch performance gives you a roadmap while allowing the final recordings to be captured separately.
3. Experiment With Acoustic Guitar Microphone Placement
Start by positioning your microphone roughly 6–12 inches away from the guitar around the 12th fret, angled slightly toward the body. Record 20 seconds. Listen. Move the microphone a few inches.
Record again. You’ll quickly discover that moving a microphone three inches can sometimes improve the sound more than adding five plug-ins later.
Use more than one microphone to record the guitar, and if you’re guitar has a pre-amp also record the direct output signal to use later.
The microphone usually provides the more natural acoustic sound, while the direct track can provide additional clarity and definition. You don’t necessarily have to use both tracks in the final mix, but having them gives you options.
4. Give Your Vocal the Best Recording Space
For most singer-songwriters, the vocal is the most important element of the recording. Spend some time finding the best-sounding area of your room.
Avoid standing directly against a wall or recording in an empty room with lots of hard surfaces. Acoustic panels, curtains, blankets and other absorption behind and around the singer can help reduce unwanted room reflections.
5. Learn to Work the Microphone
Microphone technique can make vocal recordings much easier to mix. Start approximately 6–8 inches from the microphone with a pop filter between you and the mic. If you’re about to sing a particularly powerful section, move back slightly. During quieter passages, you can move a little closer.
Experienced singers naturally adjust their distance from the microphone throughout a performance.
6. Don’t Record Too Loud
One of the easiest recording problems to avoid is digital clipping. Leave yourself some headroom. You don’t need your recording meter constantly approaching 0 dB. A healthy recording level with plenty of room for louder notes is perfectly fine when recording digitally.
It’s much easier to turn up a clean recording later than to repair a vocal that distorted during the best take.
7. Piano Players: Take advantage of MIDI
If you’re recording a digital piano or keyboard, consider recording MIDI as well as audio. MIDI gives you tremendous flexibility later.
You can correct an occasional wrong note, adjust timing, change the piano sound or experiment with entirely different virtual instruments without having to replay the entire performance.
If you love the sound of your keyboard, record its audio too. That gives you the original performance plus the flexibility of MIDI.
8. Record a Real Piano in Stereo
If you have an acoustic piano and two microphones, experimenting with stereo recording can produce a much bigger and more realistic sound than using a single microphone.
Microphone placement will depend heavily on whether you’re recording an upright or grand piano, as well as the room itself.
Before reaching for EQ, spend time moving the microphones and listening.
As with acoustic guitar, the sound you capture at the microphone is much easier to improve than a poorly recorded sound later.
9. Create a Recording Template
Remove as many technical distractions as possible.
Create a DAW template that already contains tracks such as: Acoustic Guitar, Piano, Lead Vocal, Vocal Double, Harmony Vocal, Percussion, Bass, Reverb, Delay, and Reference Track.
Set up your inputs, basic routing and effects beforehand.
When inspiration hits, you should be able to open your recording template and start playing within a couple of minutes instead of spending 20 minutes configuring your session.
10. Don’t Overproduce the Song
This is especially important for singer-songwriters. It’s incredibly easy to start with vocal and acoustic guitar and suddenly find yourself with 42 tracks.
Ask yourself: Does this new part make the song better?
If it doesn’t, delete it. Sometimes a vocal, acoustic guitar and subtle harmony will communicate a song better than a massive production.
In Closing, Capture the Performance, Not Just the Sound
It’s easy to become obsessed with microphone placement, EQ settings, plug-ins and recording techniques. But listeners don’t care whether your microphone was exactly eight inches from your guitar.
They care whether they believe the performance.
If Take 3 has a tiny imperfection but makes you feel something while Take 17 is technically flawless but lifeless, Take 3 may be the better recording.
For singer-songwriters especially, technology should serve the song—not get in its way.
Music Production in Nyack, NY.
There is truly an infinite amount of knowledge and wisdom to gain when it comes to creating music. If you don’t know where to start with your gear, or you simply want to expand upon your knowledge of music production, consider scheduling a session with a professional. To learn recording and producing tricks from an experienced professional and talented artist, call RCT Music Group at (845) 358-1236 or email ryantownsend@rctmusicgroup.com